If you've gone through the basic first game in modern JavaScript or the infinite jumper book then you've got the basics down so let's try making something a little bit more complicated!
We suggest Memory Match. A Mario Party-inspired memory game where you control a character to pick boxes until all matches are found within a limited amount of time.
Now in Part 2, we will add boxes in a 3x3 grid for the player to interact with and use depth sorting to make sure everything is layered properly.
We also have a video version on YouTube if you prefer to watch or want to see how it is coded in real-time.
Creating a Box
Let's start by creating a single box using the frame at index 10 from the sokoban asset.
Add this to the create() method of the Game Scene:
|
|
We are adding it as a Phaser.Physics.Arcade.Sprite because the player will want to collide with it later.
Your game should show a gray box above the player.
We will need 8 more boxes and add a collider with the player for each. While we can do something like this:
|
|
It would take much fewer lines and be harder to mess up if we used a Group instead.
Creating Boxes with a Group
You've likely seen and used Groups before. They can hold a bunch of Sprites that can then be reused.
Our boxes will have static Physics bodies as they don't need to move. They will stay where they are once we place them.
We can create a boxGroup like this in the create() method of the Game Scene:
|
|
Now, we can use the boxGroup to create the 9 boxes we need using 2 for loops.
|
|
We use a nested for loop to create a 3x3 grid of boxes at specific positions spaced at 25%, 50%, and 75% of screen width horizontally and 150px vertically.
The call to boxGroup.get() creates a new box and adds it to the Scene at the given x and y positions.
Notice that we are using a percentage to determine the x position instead of a specific number like we do with the y position. We add 0.25 to xPer each time a new box is created on a row and then reset it back to 0.25 for each new row.
You'll get something that looks like this:
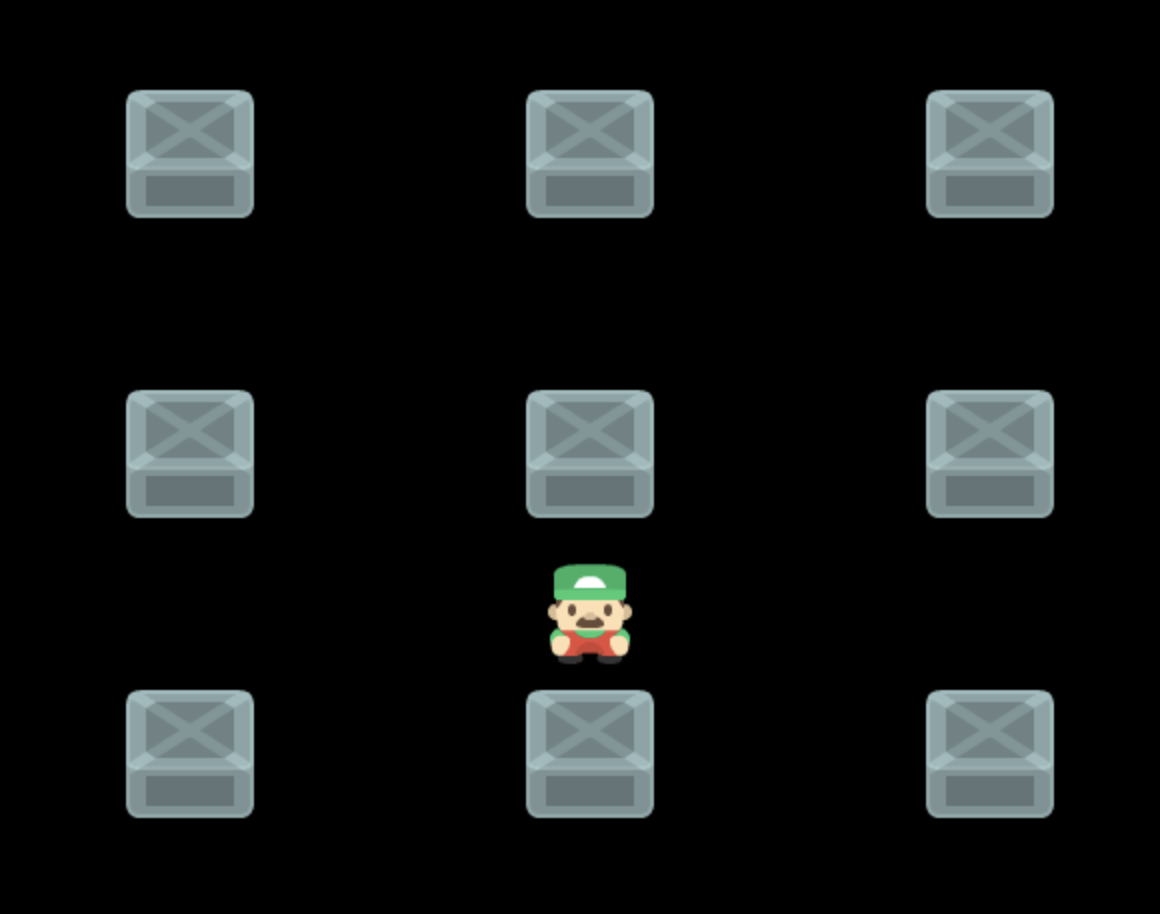
Let's Depth Sort!
Move the player around and you'll notice that he is always behind the boxes. He doesn't collide with the boxes but we'll fix that later.
First, let's add some depth sorting so that the player will sort behind a box when it looks like he is behind and in front when he looks like he is in front.
Phaser will do the depth sorting for us if we specify a value using setDepth(). All we need to do is set that value to the y position value of the Sprite.
Add this to the update() method in the Game Scene:
|
|
The call to setDepth() on line 10 that passes in child.y is straight forward.
The lines above might be slightly confusing. We are using JSDoc annotations to help VS Code provide us with more intelligent code completion.
Then the // @ts-ignore line is to tell VS Code that we don't care about the TypeScript-aided type checking error even though it is valid because we will mostly be working with Phaser.Physics.Arcade.Sprite objects.
This will mean that we might add a GameObject to the Scene that isn't a Phaser.Physics.Arcade.Sprite and doesn't have the setDepth() method. An error will occur when that happens.
But we will leave it this way for the sake of simplicity. Another approach is to have a list of items that should be depth sorted and only call setDepth() on those items. Feel free to implement it that way!
Now the player should properly appear behind boxes when he is behind them and in front when he is in front of them.
Collisions Between Player and Boxes
Next, we can add a collider between the player and the boxes so that the player can't just run through them.
Add this to the create() method in the Game Scene:
|
|
The player won't be able to run through boxes anymore but we also lose that feeling of depth where the player partly overlaps the box when he is in front of it and the box partly overlaps the player when he is behind it.
We can bring that back by adjusting the size of the collision boxes. Let's turn on physics debug in main.js to better see what is going on.
|
|
You'll see some colored rectangles around the player and the boxes. They represent the collision box of each Physics body.
To achieve the effect we want, make the player's collision box cover just the lower half of his body.
Add this to where we create the player:
|
|
We use setSize() to change the size of the collision box. Then we use setOffset() to properly place where that box should be.
You should see that the player's collision box is now much smaller.
Next, let's make a similar adjustment to the boxes:
|
|
We use the same setSize() and setOffset() methods but with different values. A box variable is created to store a reference to each created box and JSDoc is, again, used to help with code completion.
The player and boxes will now collide while retaining the depth effect. 🎉
Code Clean Up
We'll wrap up this part with some minor code clean-up.
The box creation logic is adding a lot of specific code to the create(). It would be better to keep the code in create() high level so that you can easily see what is being created.
We can do that by moving the box creation logic to a separate method like this:
|
|
The added createdBoxes() method contains the logic previously in create() plus an additional width variable that consts the screen width.
Notice that we are using this.boxGroup on line 12. We left the creation of the boxGroup in create() so we made a class property to allow access to it from createBoxes().
Add an optional property declaration like this:
|
|
Then the create() method was updated to look like this:
|
|
Next Steps
We now have a player and a world to move around in.
In the next part, we will look at changing a box's color when it can be selected and then show the item in the box when it gets selected.
Be sure to sign up for our newsletter so you don't miss any future Phaser 3 game development tips and techniques!
Drop your email into the box below.
Don't miss any Phaser 3 game development content
Subscribers get exclusive tips & techniques not found on the blog!
Join our newsletter. It's free. We don't spam. Spamming is for jerks.