If you are making a roguelike or dungeon crawler then you'll want the right atmosphere.
Being in a dark dungeon where the only light is from your torch means you should not be able to see the whole room.
It should be revealed to you as you move around.
Enemies won't be visible until they get close.
You'll need to search around and keep a mental map of where everything is.
Isn't this how a dungeon crawler should be?
In this article, we'll show you a relatively simple and efficient way to create that kind of atmosphere for a roguelike or dungeon crawler.
What it looks like
This example assumes you are using tilemaps created with Tiled.
The outcome will look something like this:
We are creating a RenderTexture that is the size of the screen and then using a mask to cut out the part where the player is.
The image used as a mask can be created in PhotoShop using a soft brush with a harder brush in the very center.
The tiles are from the Roguelike Indoors pack from Kenney.
Now let's see what the code looks like.
Create the RenderTexture
Our tilemap has a Floor layer that contains the floor and walls.
We make this part visible as WarCraft or StarCraft does for the general terrain.
The objects and details of the room are revealed by the mask when the player moves near them.
The trick is to create a RenderTexture, fill it with a dark color, draw the Floor layer into it, and then add a dark tint.
Here's how we create it in the Scene:
|
|
We create the RenderTexture on line 15 and add it to the Scene–that's what true means in the second parameter.
Then we fill it a black color, draw the floorLayer, and set it to a dark blue tint.
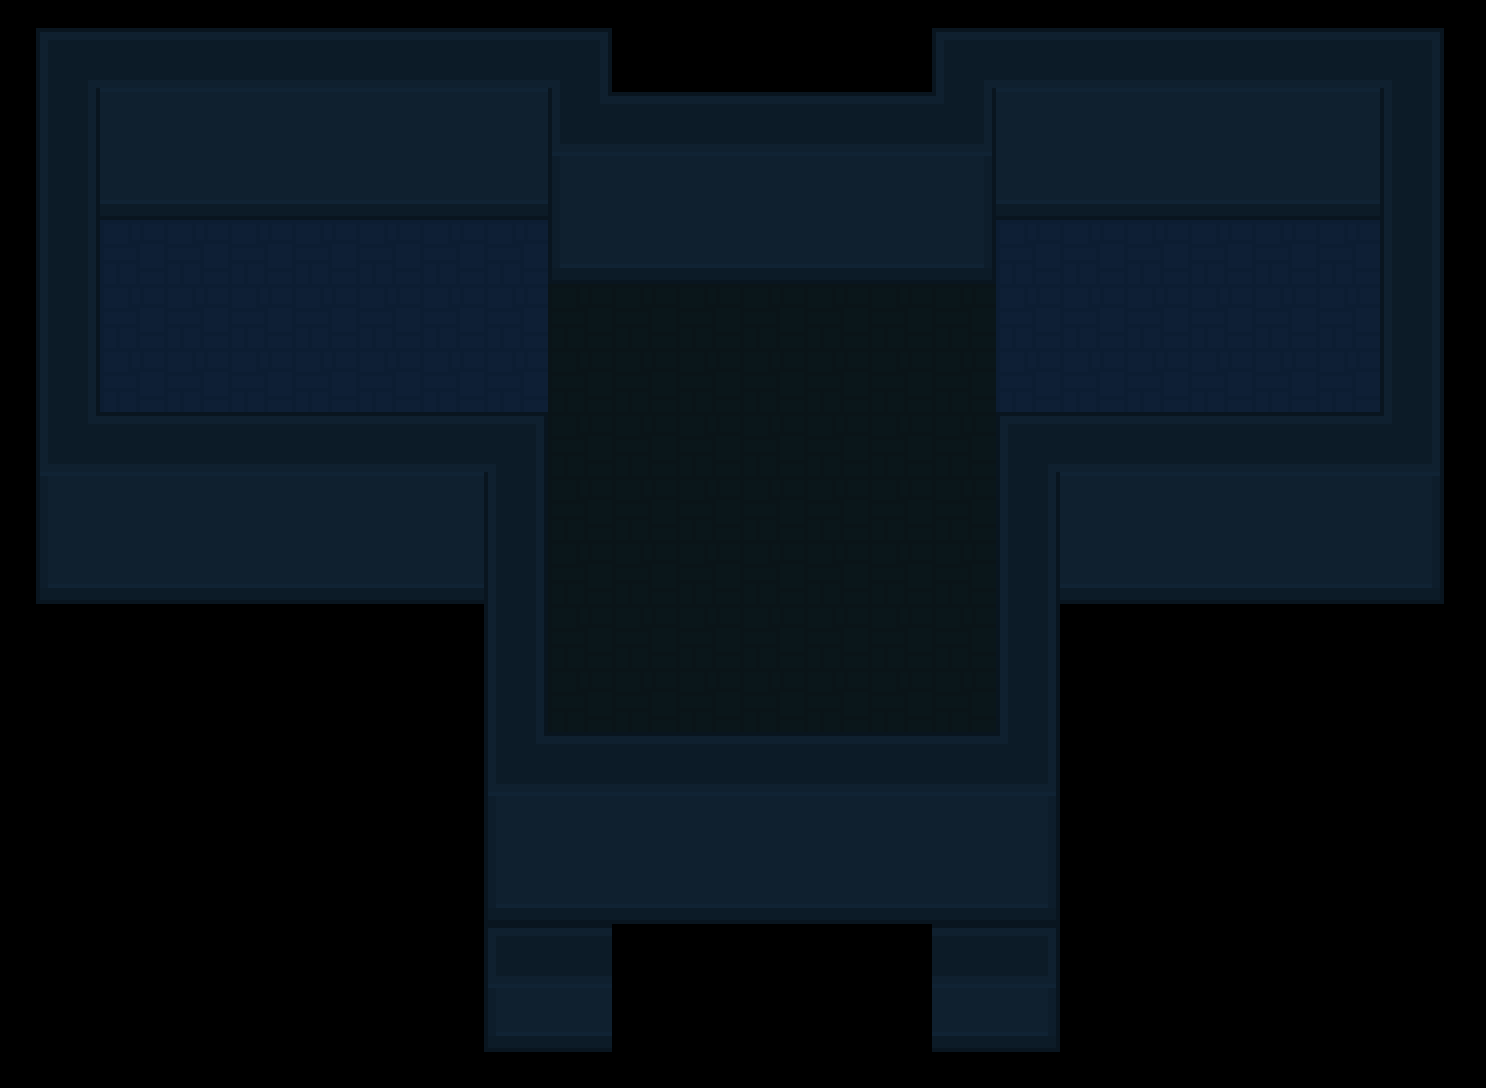
You'll end up with just a dark empty room without the Carpet, Objects, or Details layers visible.
Now we can create some limited visibility by adding a mask to the RenderTexture.
Creating a Mask
Recall that we are using an image with a gradient for the mask.
In this example, we've loaded it in preload() with the key 'vision'.
There is also a player property representing the controllable character.
|
|
The image to be used as a mask called vision is created on lines 7 - 12. Note that we have add: false because we do not want to add this Image to the Scene.
We are then scaling the image by 2.5 but you might not need to depending on the size of your image.
Lastly, we create a new BitmapMask using the vision image and set it to the mask property of the RenderTexture.
We also set invertAlpha to true but you may not need to depending on your image.
You should get something like this:
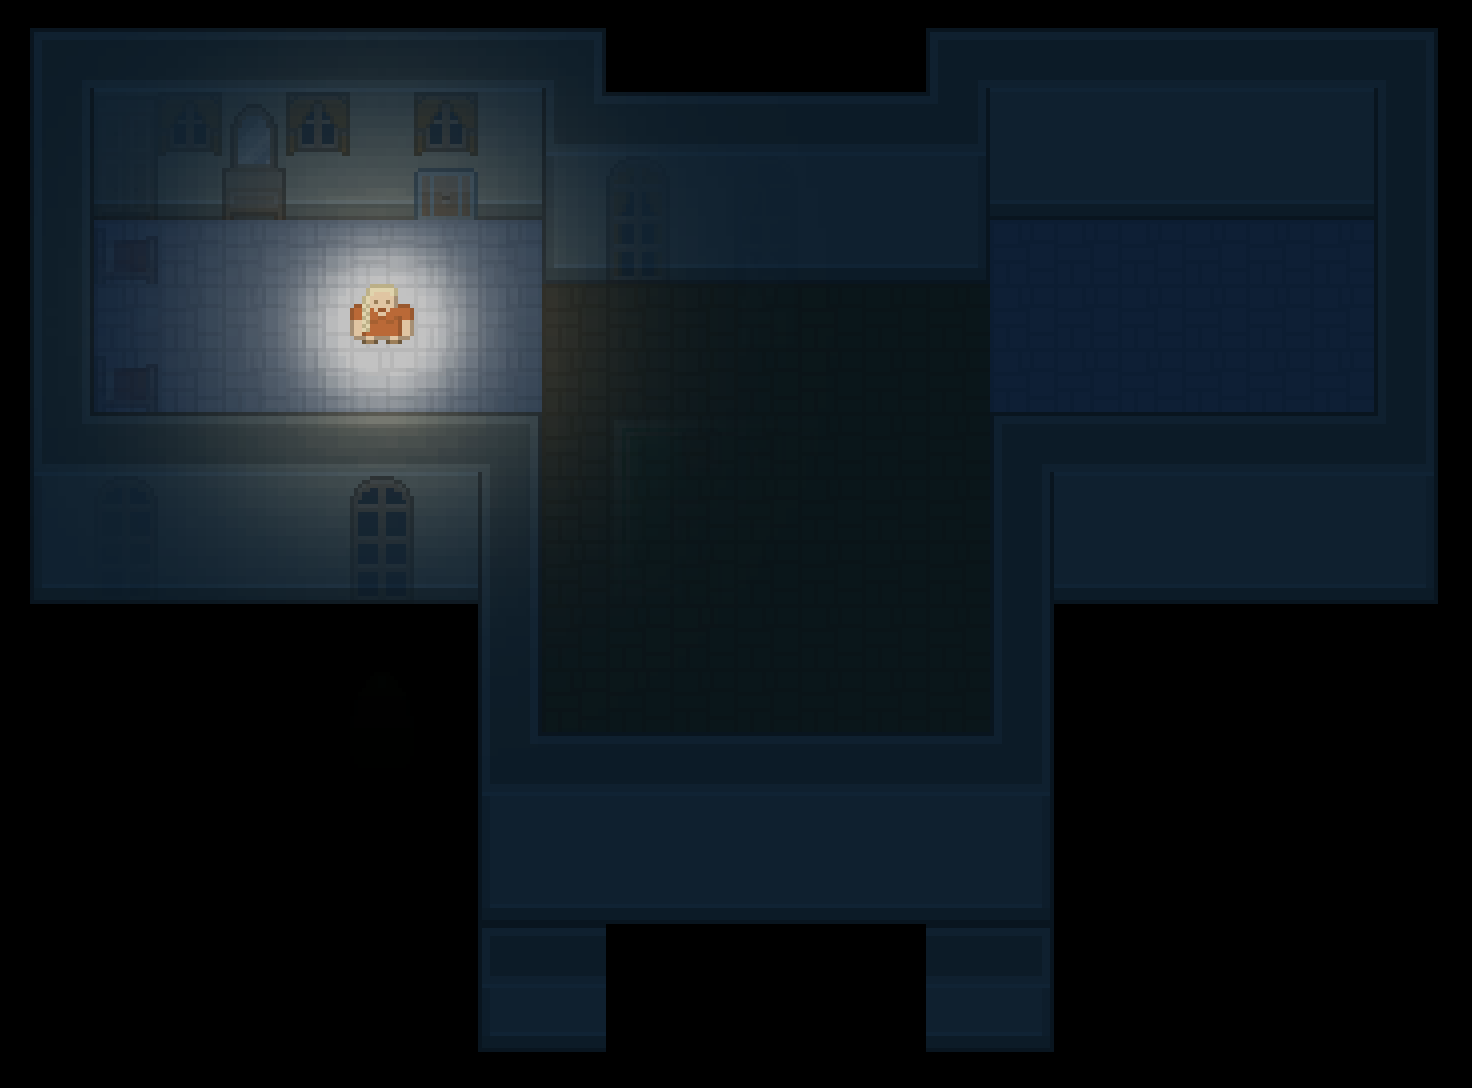
The items within the player character's vision as defined by the mask image is visible and the rest of the room is not.
Moving the Mask with the Player
The code above won't automatically move with the player.
You'll have to create a class property to store the mask image and then update its x and y based on the player.
One way to do this is in the Scene's update() method:
|
|
You'll also need to make this change in create():
|
|
Now it should work like the first example we showed!
Next Steps
Your game should feel a lot more dungeon-y with just this simple effect!
This should be pretty efficient and performant because the Phaser RenderTexture is itself efficient.
However, don't be tempted to make a RenderTexture the size of your entire tilemap if your game scrolls.
Instead, adjust the position of the mask image based on how much the camera has scrolled. Keep the RenderTexture to the size of your screen.
Be sure to sign up for our newsletter so you don't miss any future Phaser 3 game development tips and techniques!
Drop your email into the box below.
Don't miss any Phaser 3 game development content
Subscribers get exclusive tips & techniques not found on the blog!
Join our newsletter. It's free. We don't spam. Spamming is for jerks.