Complex character logic can get out of hand quickly without a system to manage it.
For example, a platforming hero needs to at least stand idle, move left and right, and jump.
But those actions alone don't often make a fun game. We'll want to add melee attacks, ranged attacks, double jump, ducking, crawling, and more.
One tried and true solution to handle this is to use a Finite State Machine or just State Machine. We'll show you how to create and use one in this article!
Check out this article for a review of the basic State Pattern.
Example Overview
The examples in this article assumes a project environment like the one in phaser3-typescript-parcel-template.
If you are not familiar with Phaser 3 and TypeScript then we have a free book to help you get started 👇
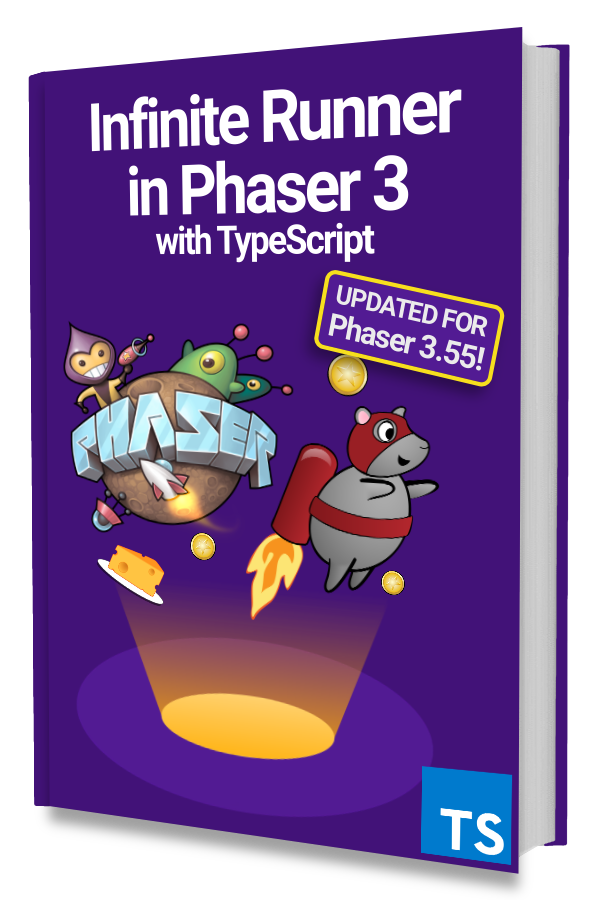
Learn to make an Infinite Runner in Phaser 3 with TypeScript!
Drop your email into the box below to get this free 90+ page book and join our newsletter.
You can find the source code for this state machine implementation in our Sidescrolling Platformer Starter Template.
There's also a video version going over the implementation of this state machine here. And then a video of it being used for character logic here.
How does a State Machine Work?
A State Machine is simply a collection of States with a defined system for switching between each State.
There are traditionally 3 hooks or phases in each State: onEnter, onUpdate, and onExit.
You start by defining all possible States that the State Machine can be in. For simple character logic it could be something like:
- Idle
- Move
- Jump
Each bullet above is a State. Let's say you start by going to the Idle State. Idle would have code for each of the 3 hooks as needed and they would get called like this:
- Call
onEnterif it is defined - Then on each update tick call
onUpdateif it is defined - When switching to a new State, call
onExitif it is defined on the current State
A State Machine can only be in 1 State at a time and you cannot switch to the same State that you are already in.
Now that you have an overview of how it works, let's get started with the implemention!
Creating a State Machine
First, let's lay out the basic skeleton of our StateMachine class:
|
|
We start by defining an IState interface with a required name and then optional hooks for onEnter, onUpdate, and onExit as we discussed in the previous section.
Then in the StateMachine class we use a Map to store each State by their name. There's a currentState property to hold a reference to the active State if there is one. This will be used in update(dt: number) to call the onUpdate hook in the game loop.
The addState method is used to add and define a State like Idle, Move, or Jump. It takes a name and then an object that defines what should happen in each of the 3 hooks.
The setState method just takes a name of a State and will handle logic for switching from one State to another.
Before we implement each of these methods, there's some helpful things we can do to help us debug and make it easier to use in a Phaser game.
Identification and Context
It is helpful to name each StateMachine when you are using more than one to better understand who is doing what.
For example, you can have enemies that each use a StateMachine. Debugging any problems will be much easier if you can easily see which enemy is changing states.
Then for convenience, we can define a class level context property to automatically bind method references used as hooks in each State. This is nice for the case where your character class defines all the logic for each State as methods.
Let's add 2 properties and a constructor to our StateMachine class 👇
|
|
The id and context given to the constructor are both optional. We use the idCount variable that is global to all StateMachine instances to default a simple id value for each StateMachine if none is given.
There is a default value set in the property declaration and then the constructor will use the passed in id value if it exists.
Adding a State
To add a state we just need to add an entry to our states map. Every state is assumed to have a unique name and is based on the IState interface.
|
|
The addState() method takes a name and then an optional config object. That config object is where you'll pass in handlers for onEnter, onUpdate, and onExit as necessary.
The config object is optional because sometimes a state won't have any associated logic.
Inside the method we create an IState object by combining the name and defined state hooks. That object is then stored in the states map.
Notice that we are also using the class context property to bind the context of each passed in handler. This assumes we'll be defining the handlers within the same class or context. It'll make more sense when we get to an example of this in action.
Switching States
Some state machines switch states by defining transitions. Transitions can help make things clearer and easier to debug as they limit and define which state can be transitioned to from another state.
In this example, we're going to be a little reckless and allow switching to any state at any time. 😈
|
|
First thing to notice is that we are using a method and property that we have not yet defined: isCurrentState() and isChangingState. We'll create these shortly.
The idea of setState() is to take a name of the state you'd like to go to and only do it if that state exists and we are not already in that state. A state machine will not go into a state that it is already in.
To perform the transition we call onExit on the current state and then onEnter on the new state. We flag that we are in the process of changing state to avoid excuting another state change while one is already in progress. Any requests to change state from an onExit or onEnter during a state change will be queued.
Next, let's make sure we define the isCurrentState() method and isChangingState property 👇
|
|
Updating on Each Tick
The last thing we need to do is handle updating the current state on each tick. We do this in the update() method.
|
|
We start by processing any queued state changes one at a time and only call the onUpdate() handler once there are no more queued state changes.
Once all the state changes are settled we will call onUpdate() if it exists on the current state.
And now you have a fully functioning state machine! 🎉
Usage Example
Here's a simple example of how you can use this StateMachine for a typical hero character 👇
|
|
Next Steps
This StateMachine is easy to get started with but could benefit from things like defined transitions or accepting State objects with handlers that use different contexts.
Having different State classes can help better organize logic and make things easier to manage for complex state machines. You can do this by changing addState() to take in an IState reference as well as an ad-hoc config.
Check out this video on YouTube for a more detailed usage example.
Be sure to sign up for our newsletter so you don't miss any future game development tips and techniques!
Drop your email into the box below.
Don't miss any future game development content
Subscribers get exclusive tips & techniques not found on the blog!
Join our newsletter. It's free. We don't spam. Spamming is for jerks.